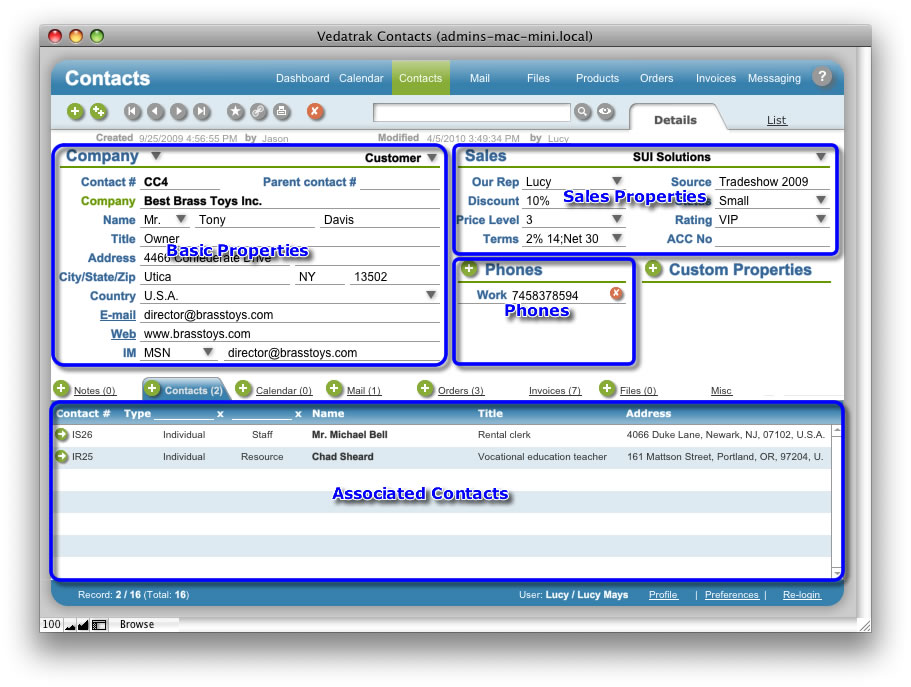
The Contacts Detail View provides access to the properties for the selected contact.
Use the Type and
Category drop down lists to specify the contact type
(Company or Individual) and
category (Prospect, Customer, Vendor,
Brand, Resource or Staff).
The
category list is expandable. Select Edit... from the drop
down list. Then, in the Edit Value List dialog box, type
each new category on a separate line in the order you want them to
appear and click OK.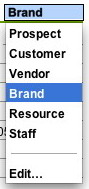
Upon indicating a Type and Category for the contact, a unique Contact # is generated.
If a contact is an Associated Contact (ie: it is Individual of the Staff type), the Parent contact # will contain the parent contact Contact #.
Enter other properties, including Name, Company, Address, E-mail, etc.
If
your company operates several Brands, select the appropriate
Brand using the drop down menu.
Input
Sales Properties:
Click
the arrow by Our Rep to select the sales rep
associated with the new contact from the drop down list. The names
included on the list are specific to the selected Brand.
Hint:
Any property with an arrow button can be typed or
selected from the drop down menu.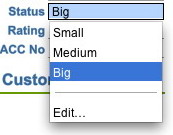
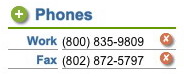
Click New
 in the Phones area to add a contact's phone numbers.
Select the phone type (Home, Mobile, Fax or Work) and enter the number.
Click Delete
 to delete the phone.
Associated Contacts can be added to any existing contact, called a Parent contact. When working within any contact card, you can see its Parent contact or any nested contacts. The set of contact types is customizable.
Click New
in the Contacts tab to add an Associated Contact.
You can filter Associated
Contacts using the Type and Category drop down
lists.
| Topic: 13 / 92 | Vedatrak 2.1 Online Help © 2006-2024 SUI Solutions info@suisolutions.com |