SUI Calendar 2.0 Online Help |
Basics | Calendar | Users | MultiLang |
|
Details
Contents
|
Creating New Appointments
New appointments can be created by
clicking New
![]() in several places:
in several places:
Day View: In Daily Appointments to create an appointment for the selected day.
Week View, Month View and Year View: Near the particular day.
The New Appointment window opens:
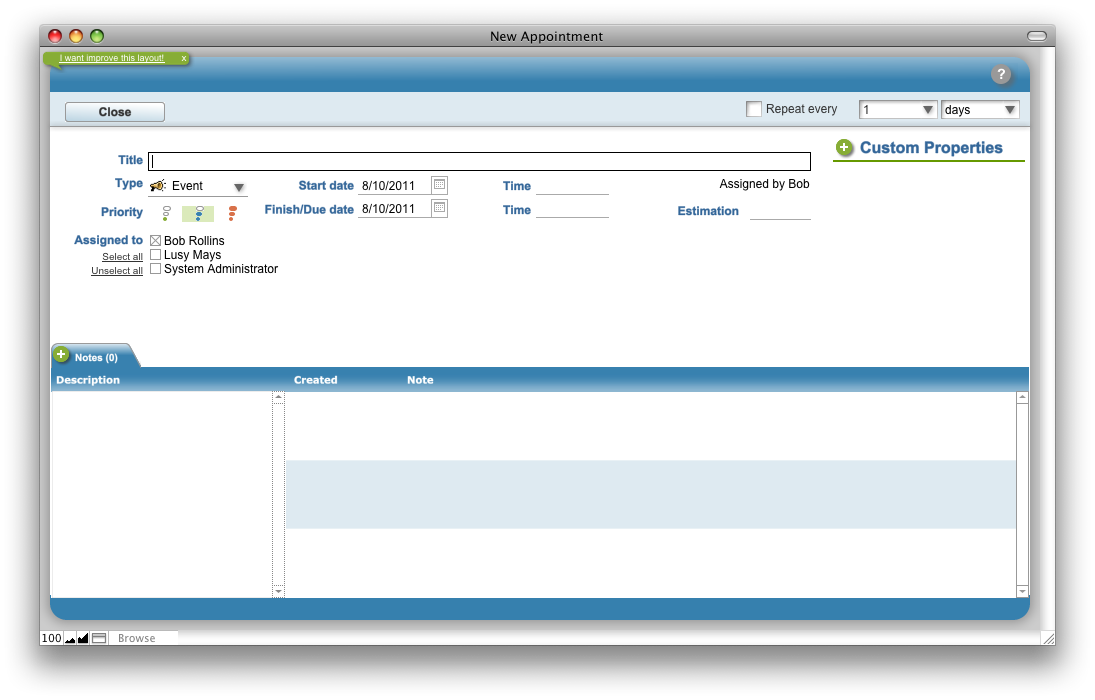
The Title field is visible in all views.
The Type field is shown before the title as an icon. Different icons are used to represent each appointment type.


Start date, Finish/Due date, Start time, and Finish time can be defined and are visible in all views.
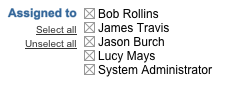
Select Assigned to users for the appointment.
Use the Repeat every feature to specify the frequency at which the appointment should recur.

Specify Priority. The default priority is Medium.

Click the Close button
 to save the appointment and close the window.

| Topic: 15 / 33 | SUI Calendar 2.0 Online Help © 2006-2025 SUI Solutions info@suisolutions.com |